- → Introduction
- 1. NomaSign Account
- 2. Integration Account
- 3. Signing Template
- 4. Refresh Token
- 5. Clone Example App
- 6. Webhooks
Creating an Integration Account
Invite a dedicated email address as an Integrator in your organization. This account gets API access automatically when assigned the Integrator role.
This will be an account like sign@yourdomain.com — this is what signers will see as the sender after you've sent a document via the API.
Important
Who performs this step?
You must be logged in as the org owner. Only org owners can invite members and assign the Integrator role.
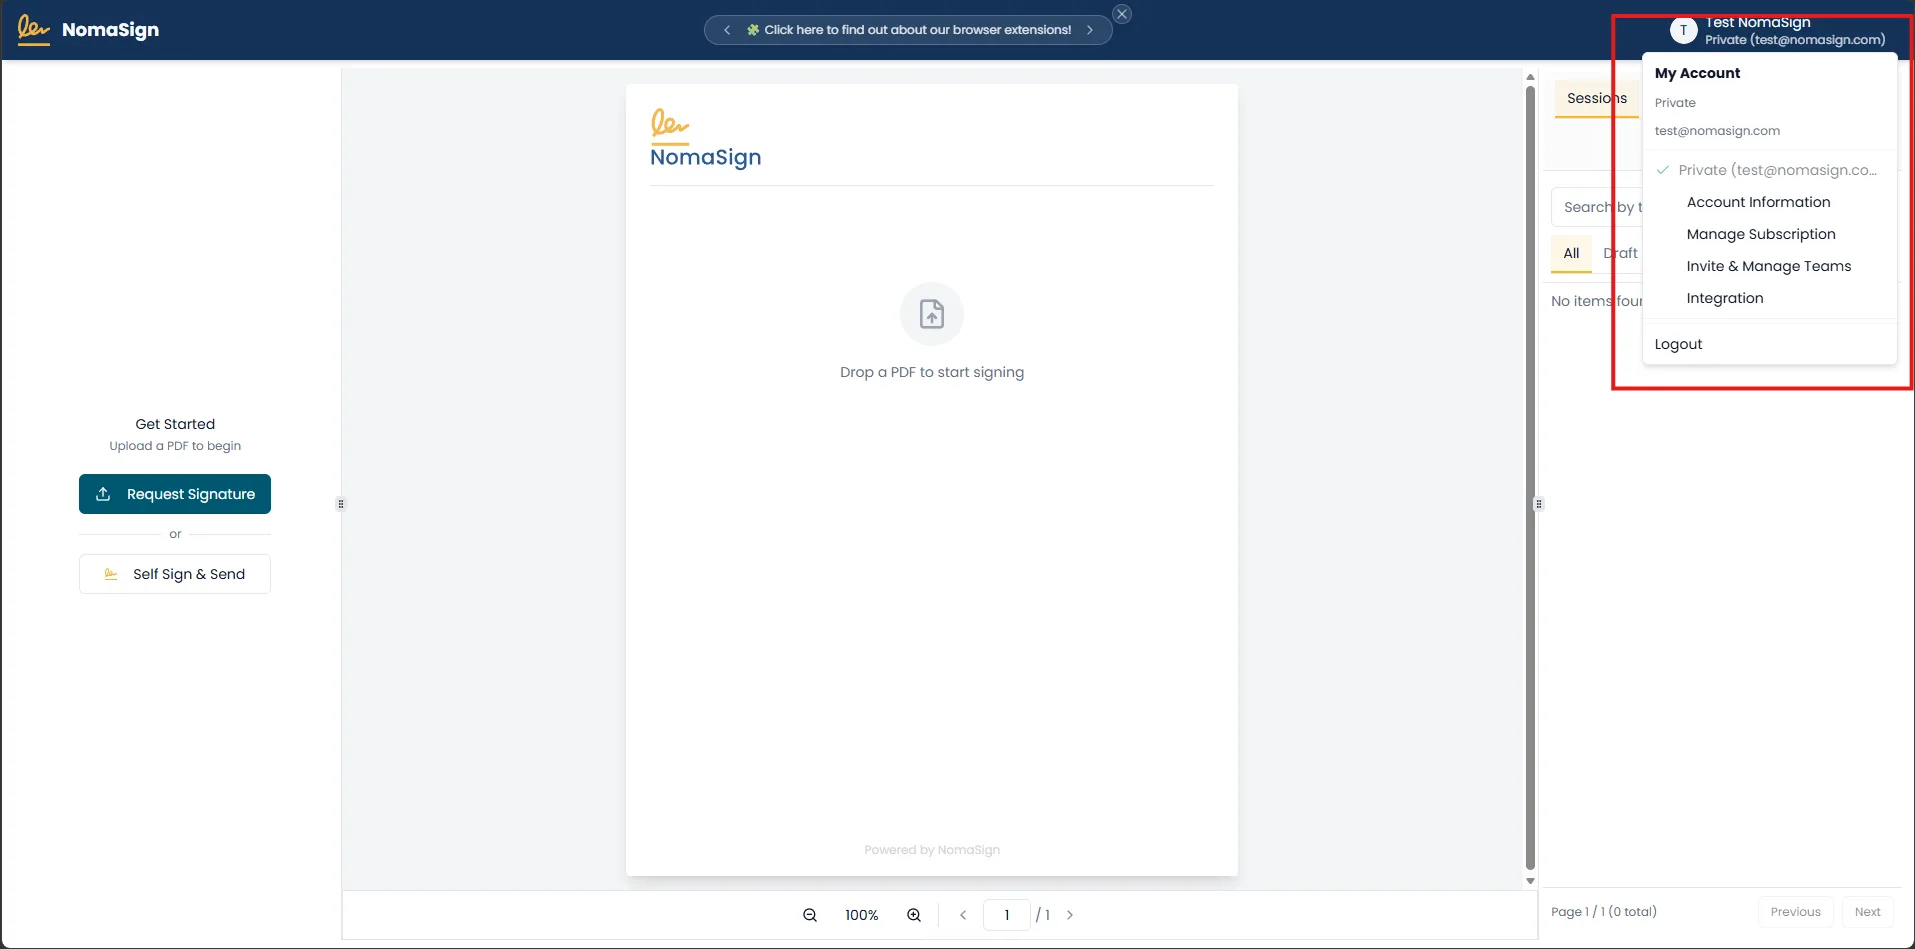
1. Click on the Profile button
Log in at app.nomasign.com as the org owner and click your profile image in the top-right corner.
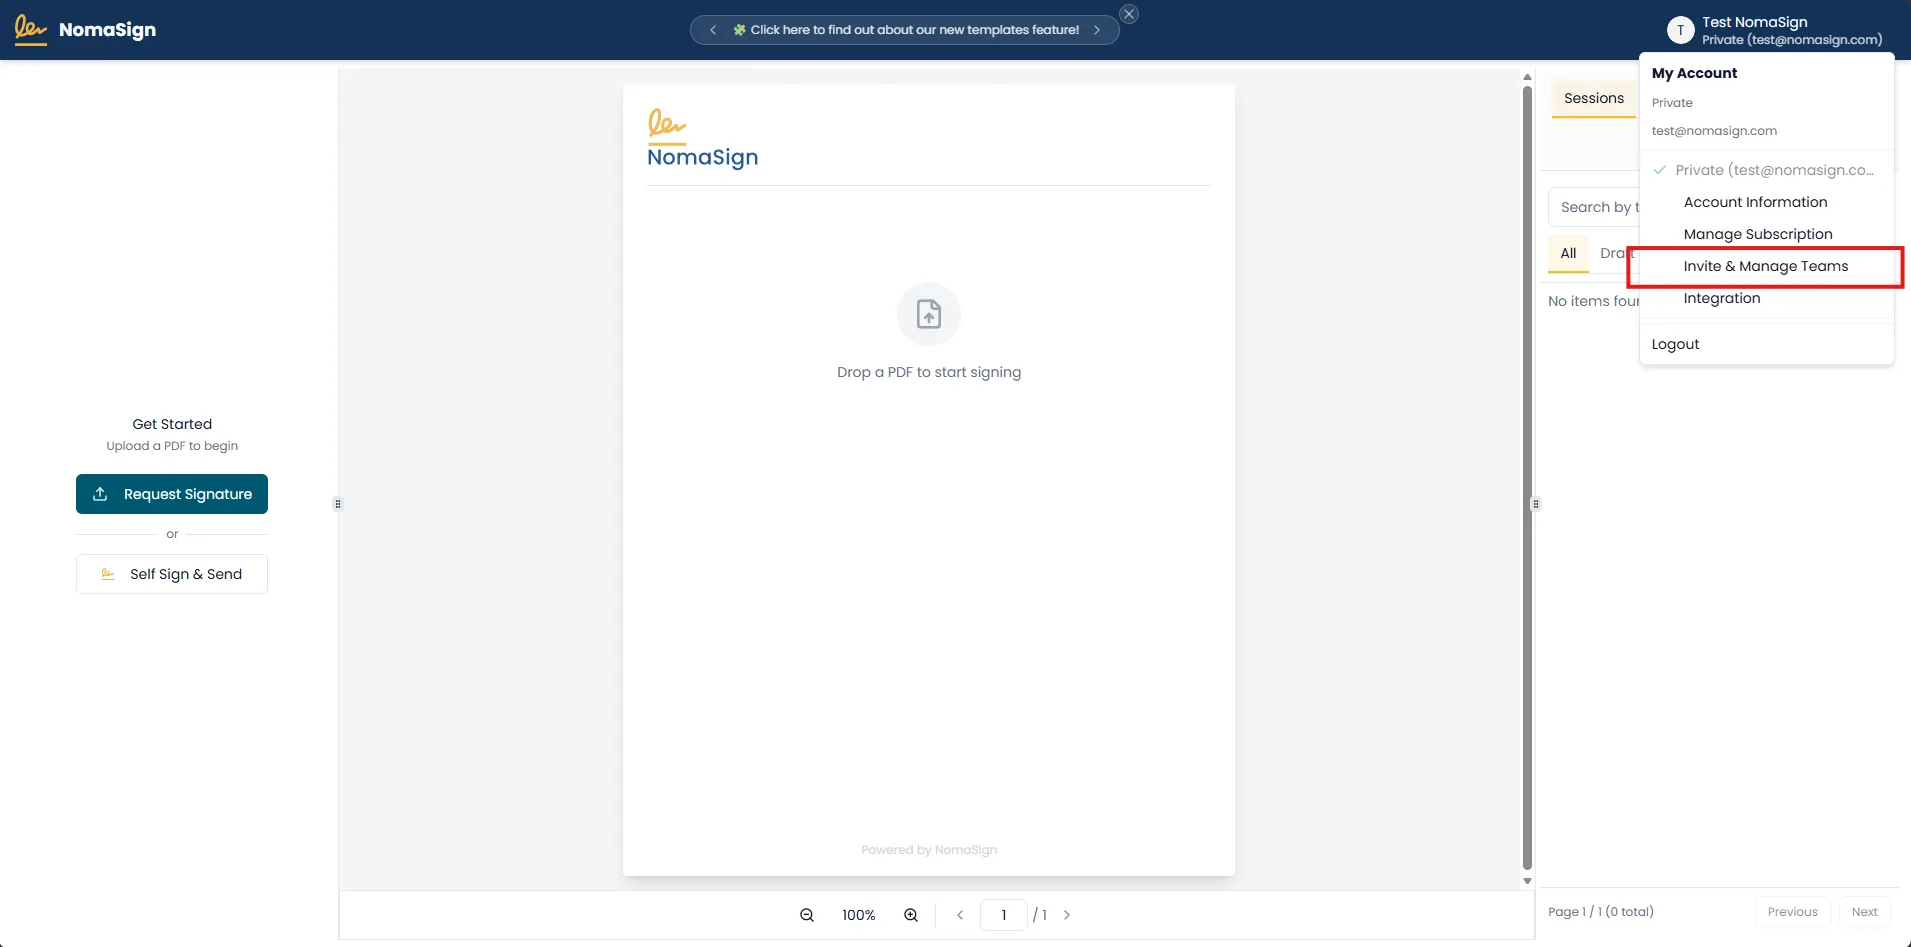
2. Invite & Manage Teams
Select Invite & Manage Teams from the profile menu.
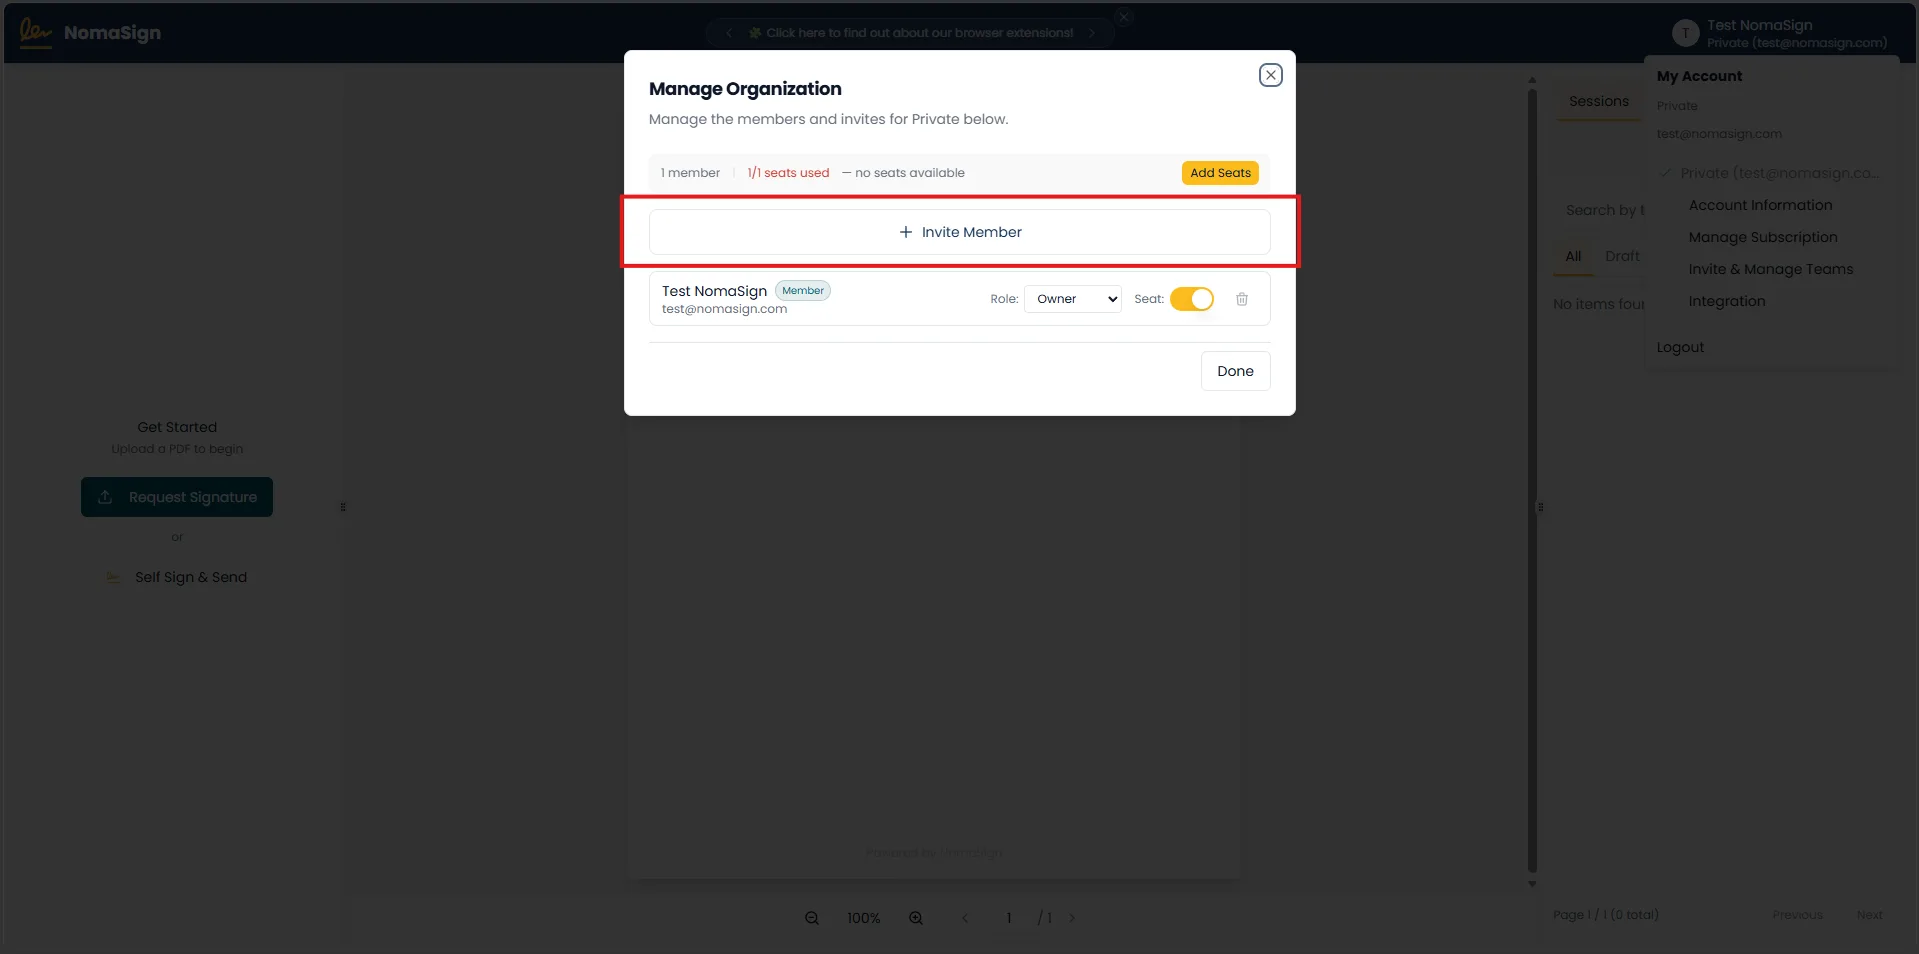
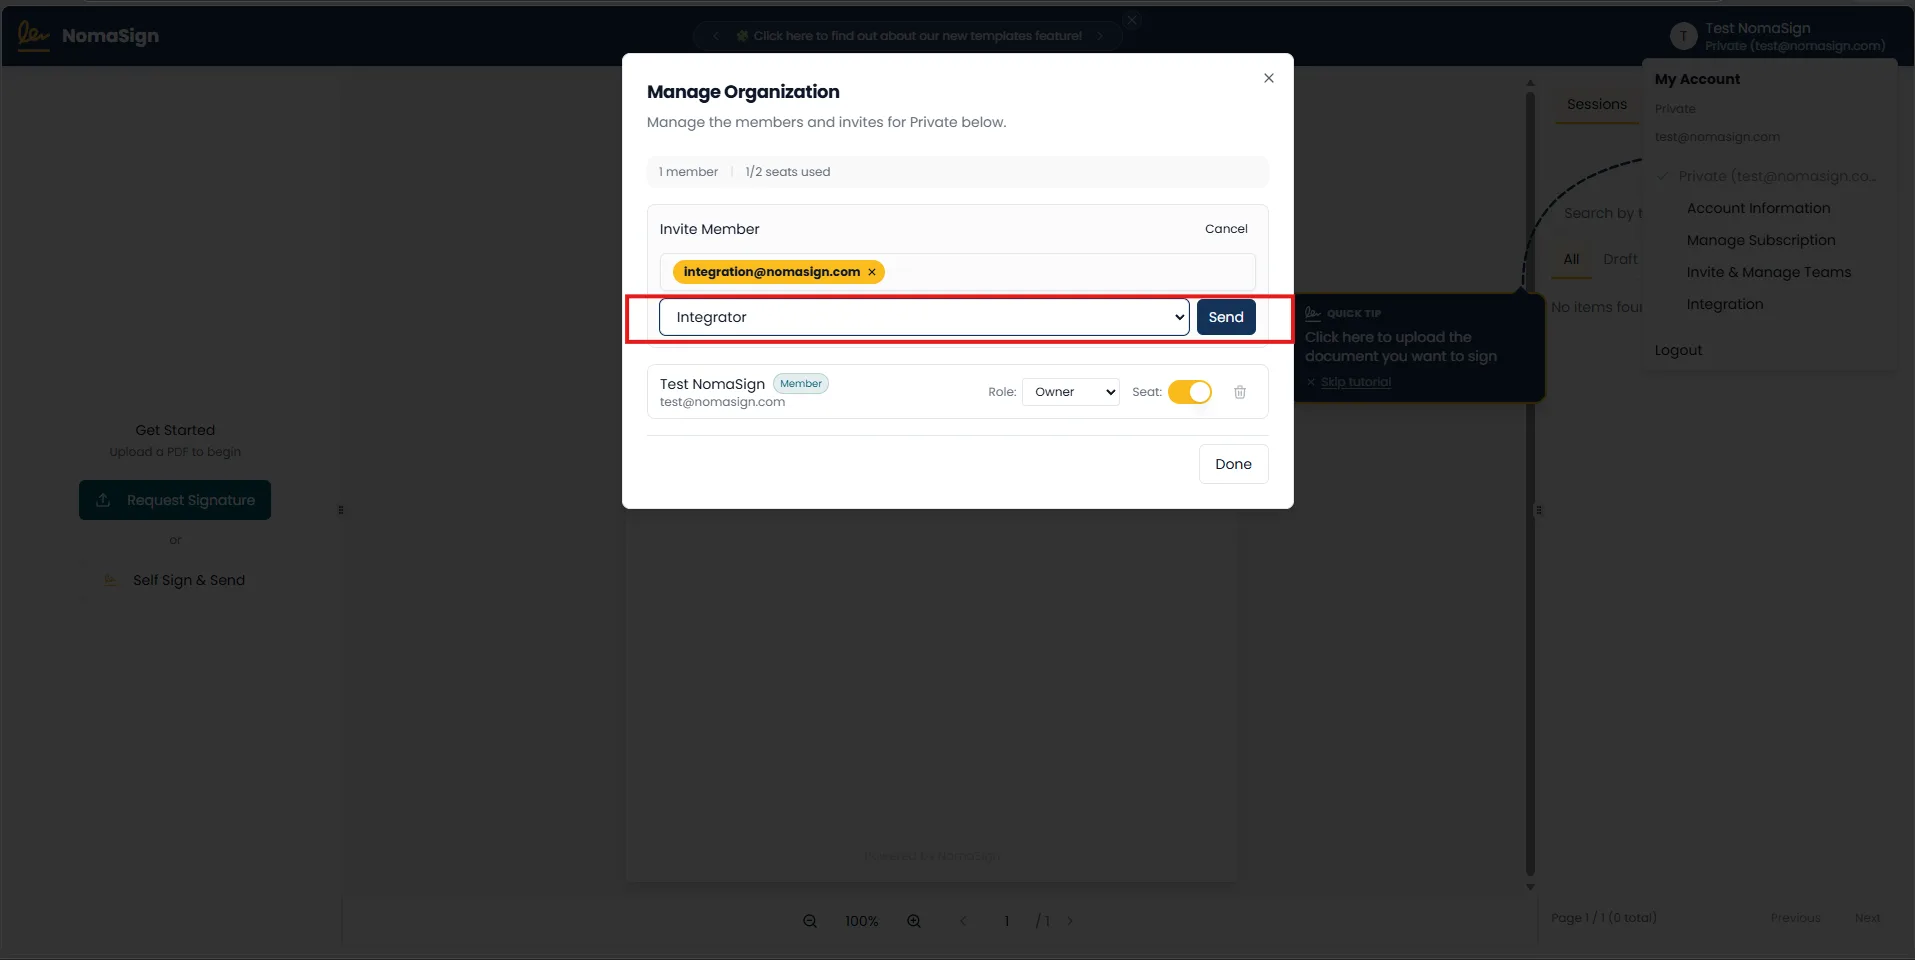
3. Invite Member
On the Manage Organization tab, click Invite Member.
4. Invite as Integrator
Enter your integrator email address (e.g. signing@yourdomain.com), set the role to Integrator, and send the invite.
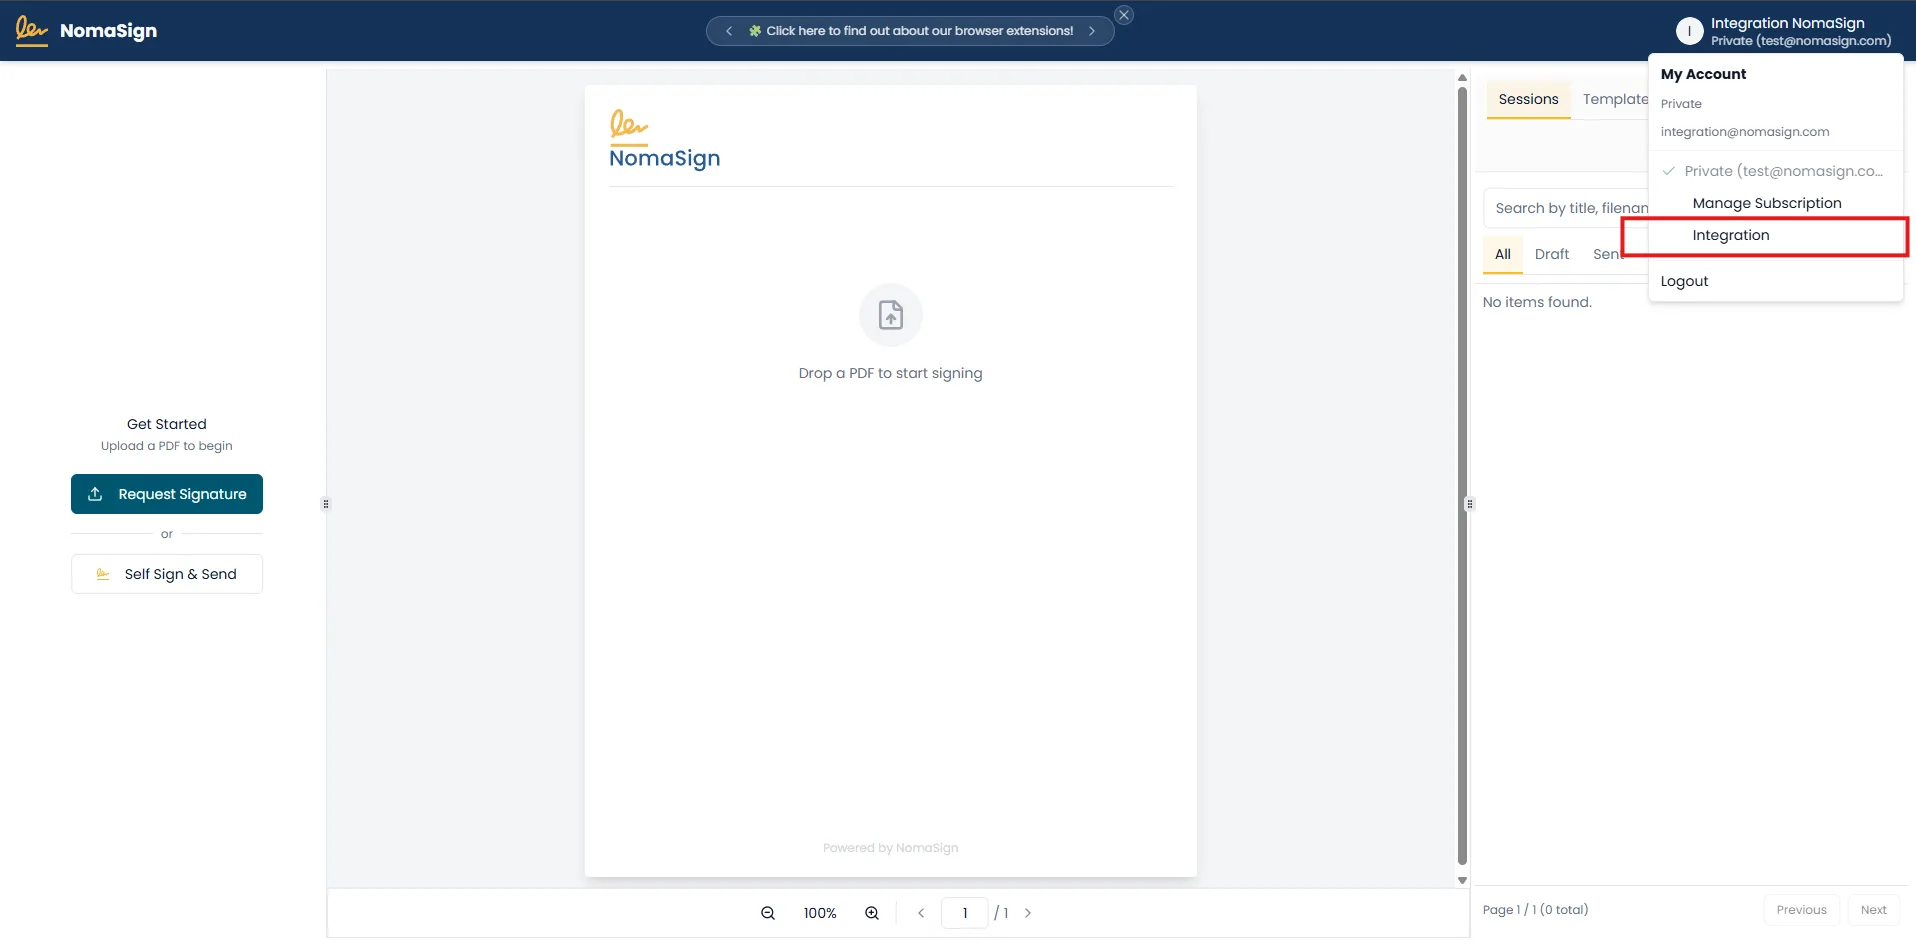
5. Accept & Log In as Integrator
Accept the invitation email, then log in with the integrator account, and click on the integration menu item in the profile bar.
Browser tip
Then you'll see the Integration page.
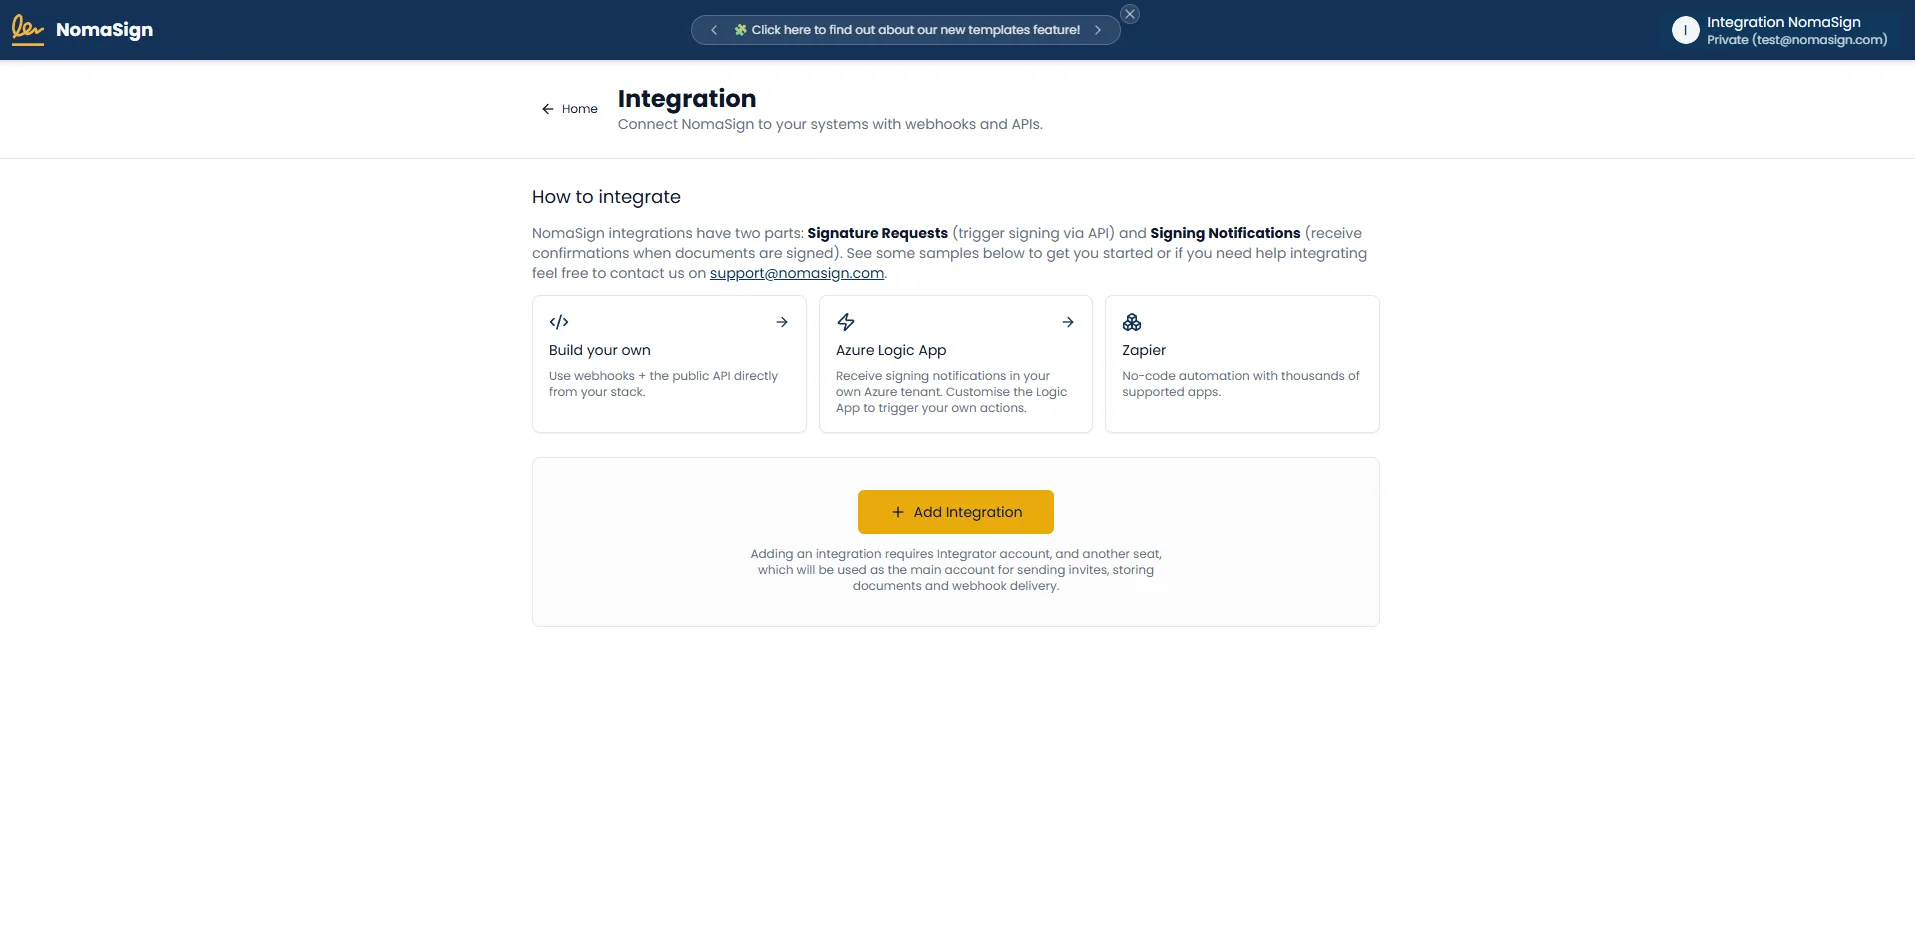
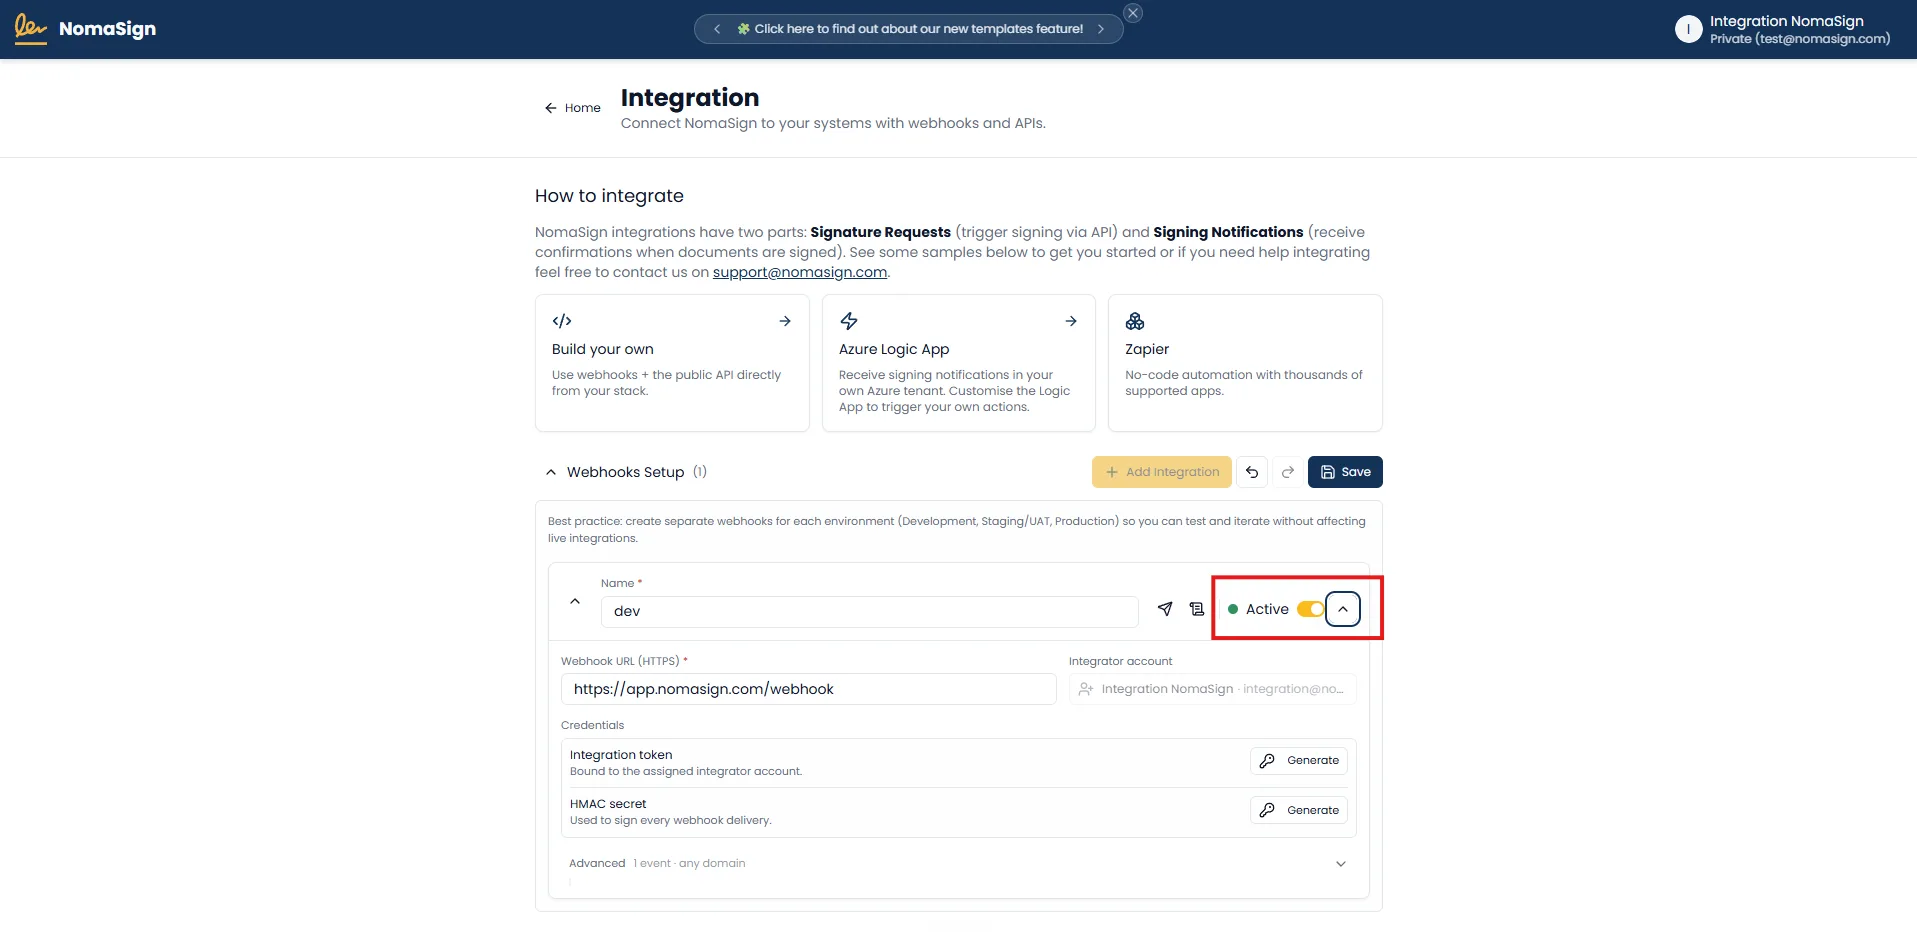
6. Add a New Integration
On the Integration page (logged in as the integrator), click Add Integration.
| Field | What to enter | Example |
|---|---|---|
| Name | A label for this integration | CRM Production or HR Dev |
| Webhook URL | Your HTTPS endpoint (optional) | https://example.com/api/webhooks/nomasign |
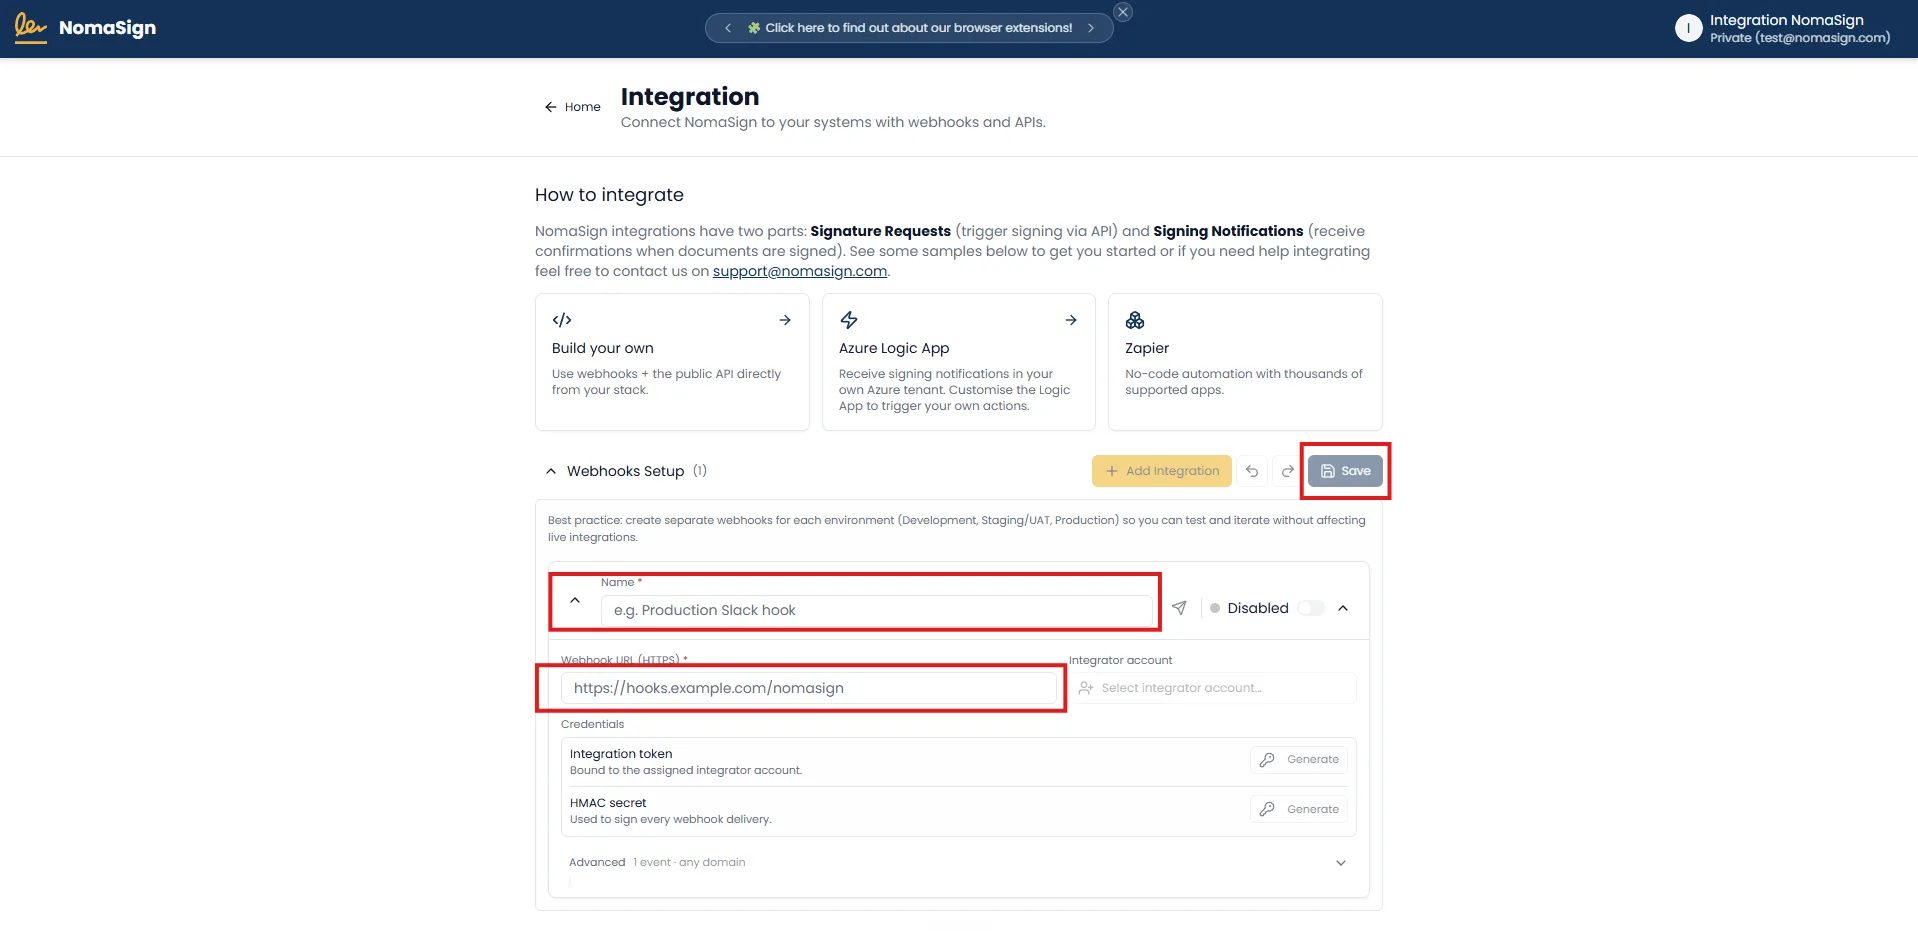
7. Activate the Integration
Toggle the entry to Active to enable API access.