- → Introduction
- 1. NomaSign Account
- 2. Integration Account
- 3. Signing Template
- 4. Refresh Token
- 5. Clone Example App
- 6. Webhooks
Creating a Signing Template
Templates are reusable document structures. Your integration instantiates a template each time it sends a document, filling in recipients and field values via the API.
Important
Templates are user-scoped. The API can only access templates created by the integrator account. Log in as the integrator to create templates.
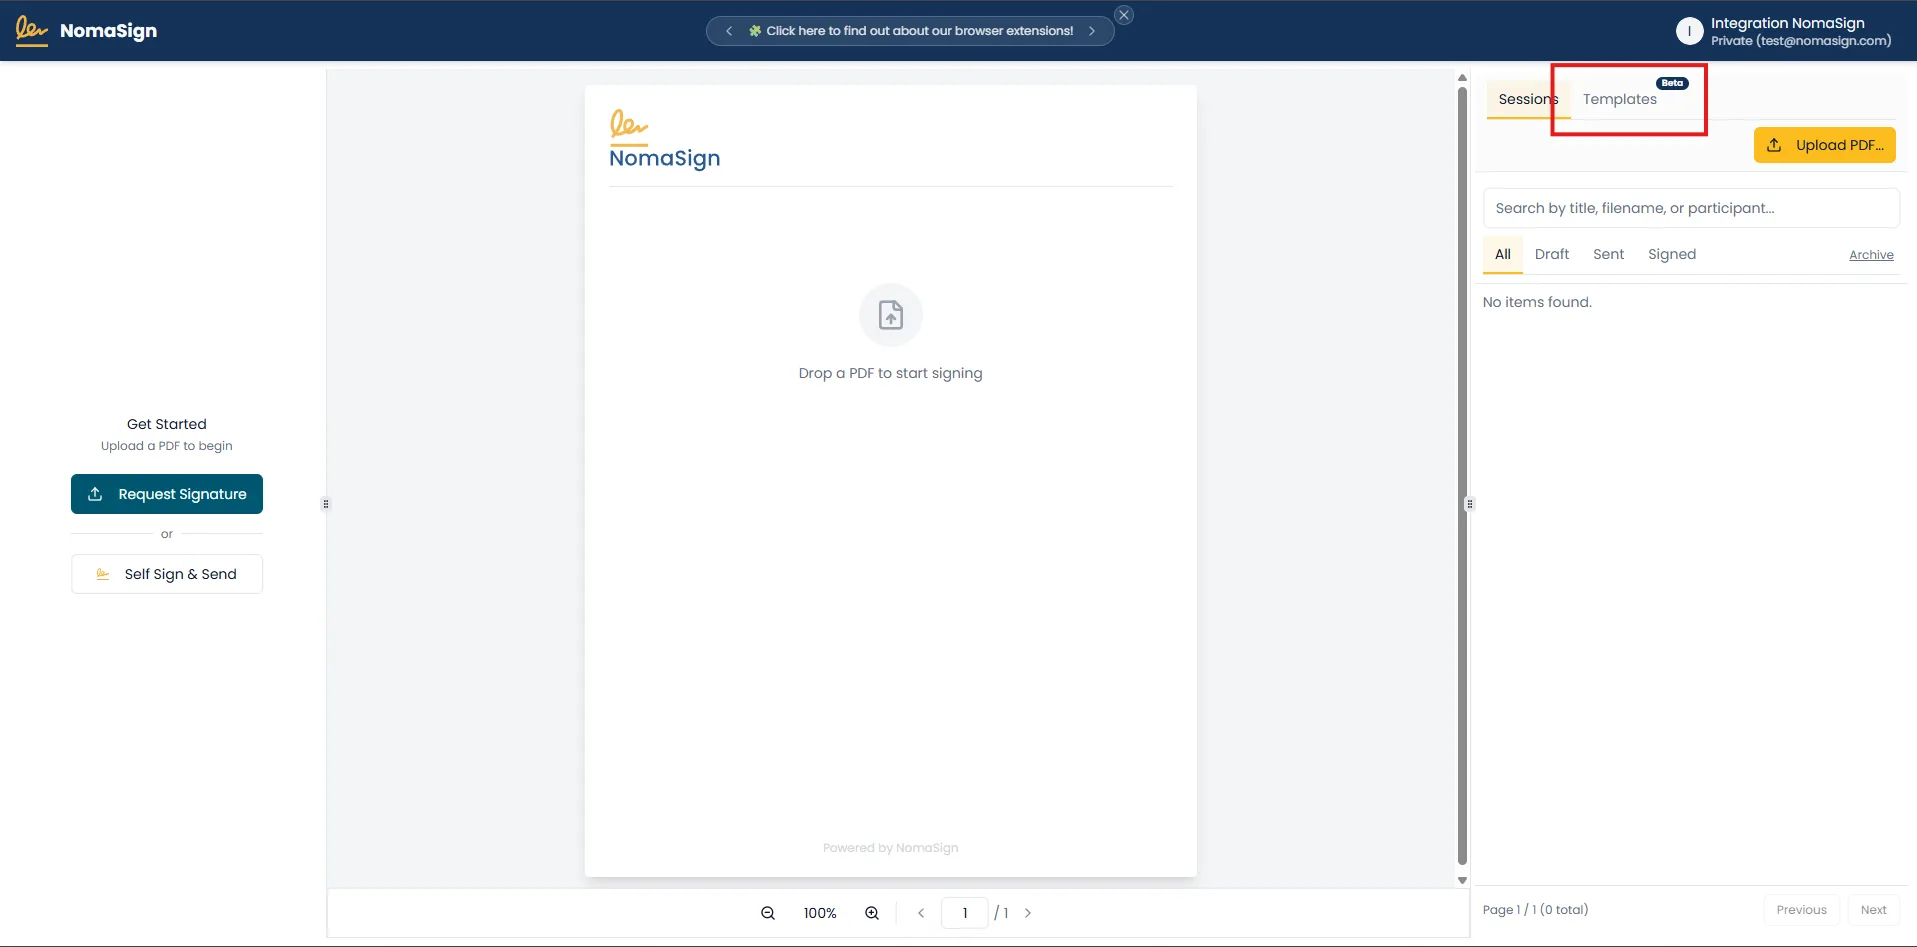
1. Go to Templates
Open Templates from the sidebar.
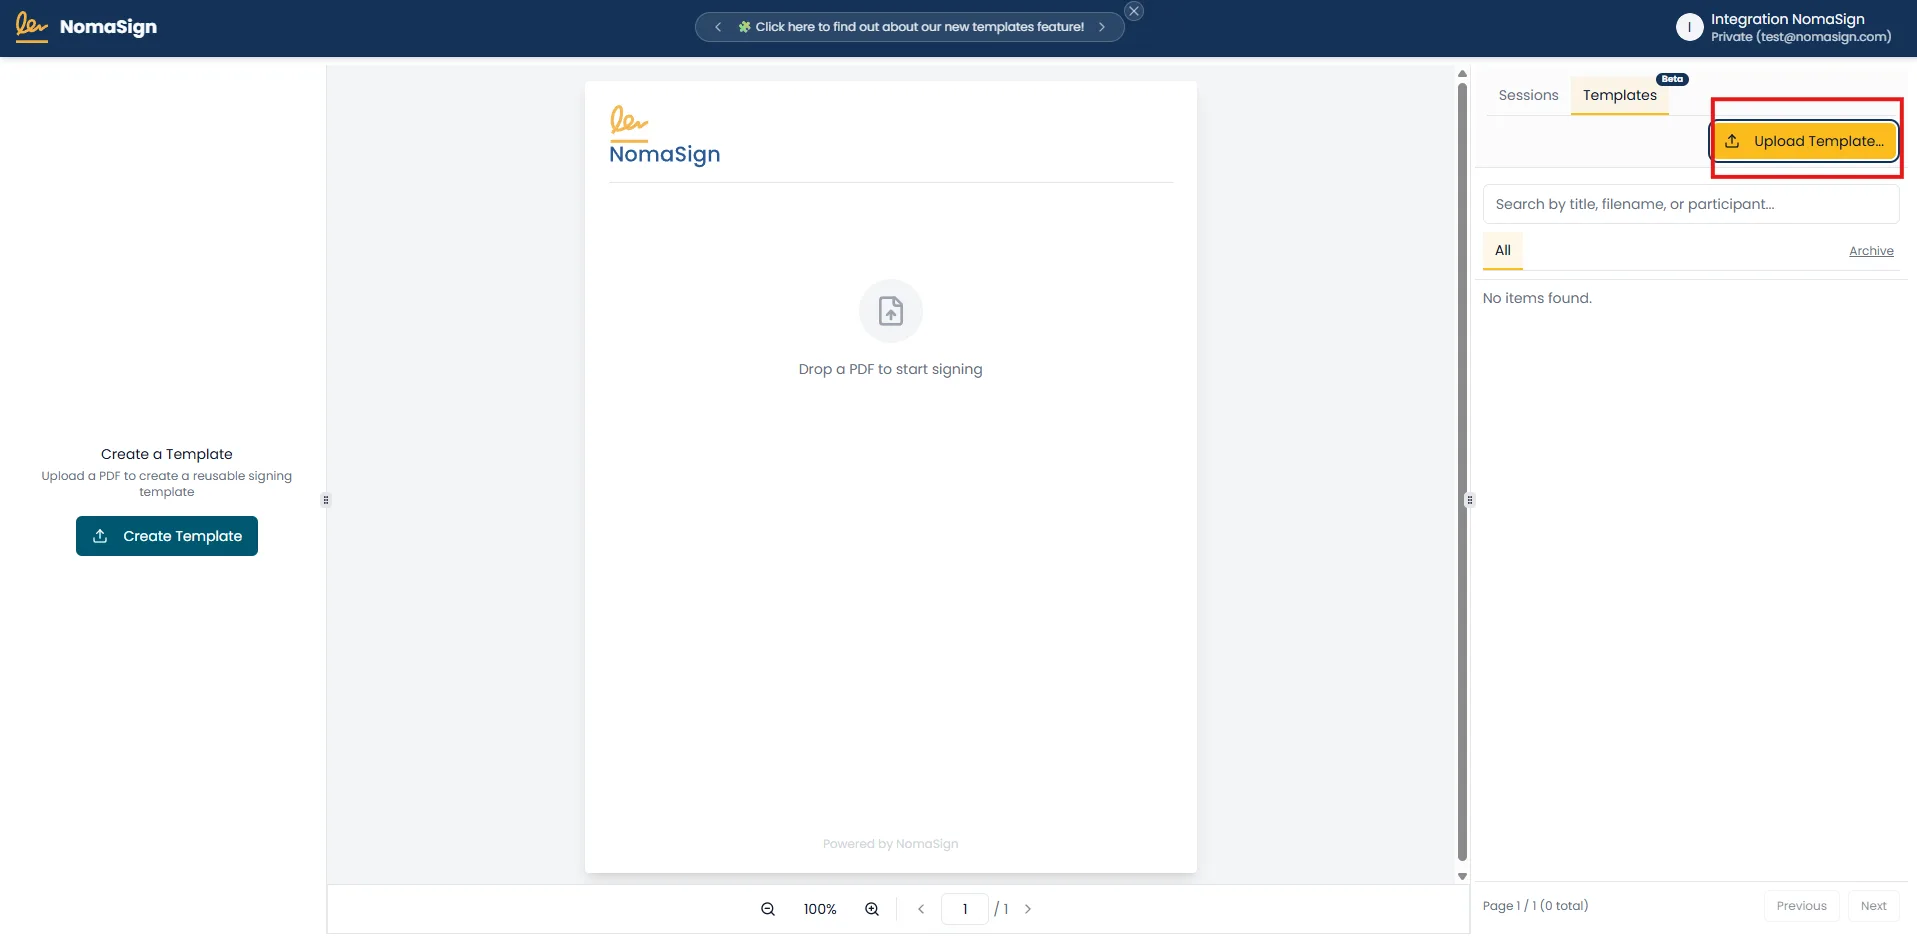
2. Click Upload Template
Click Upload Template.
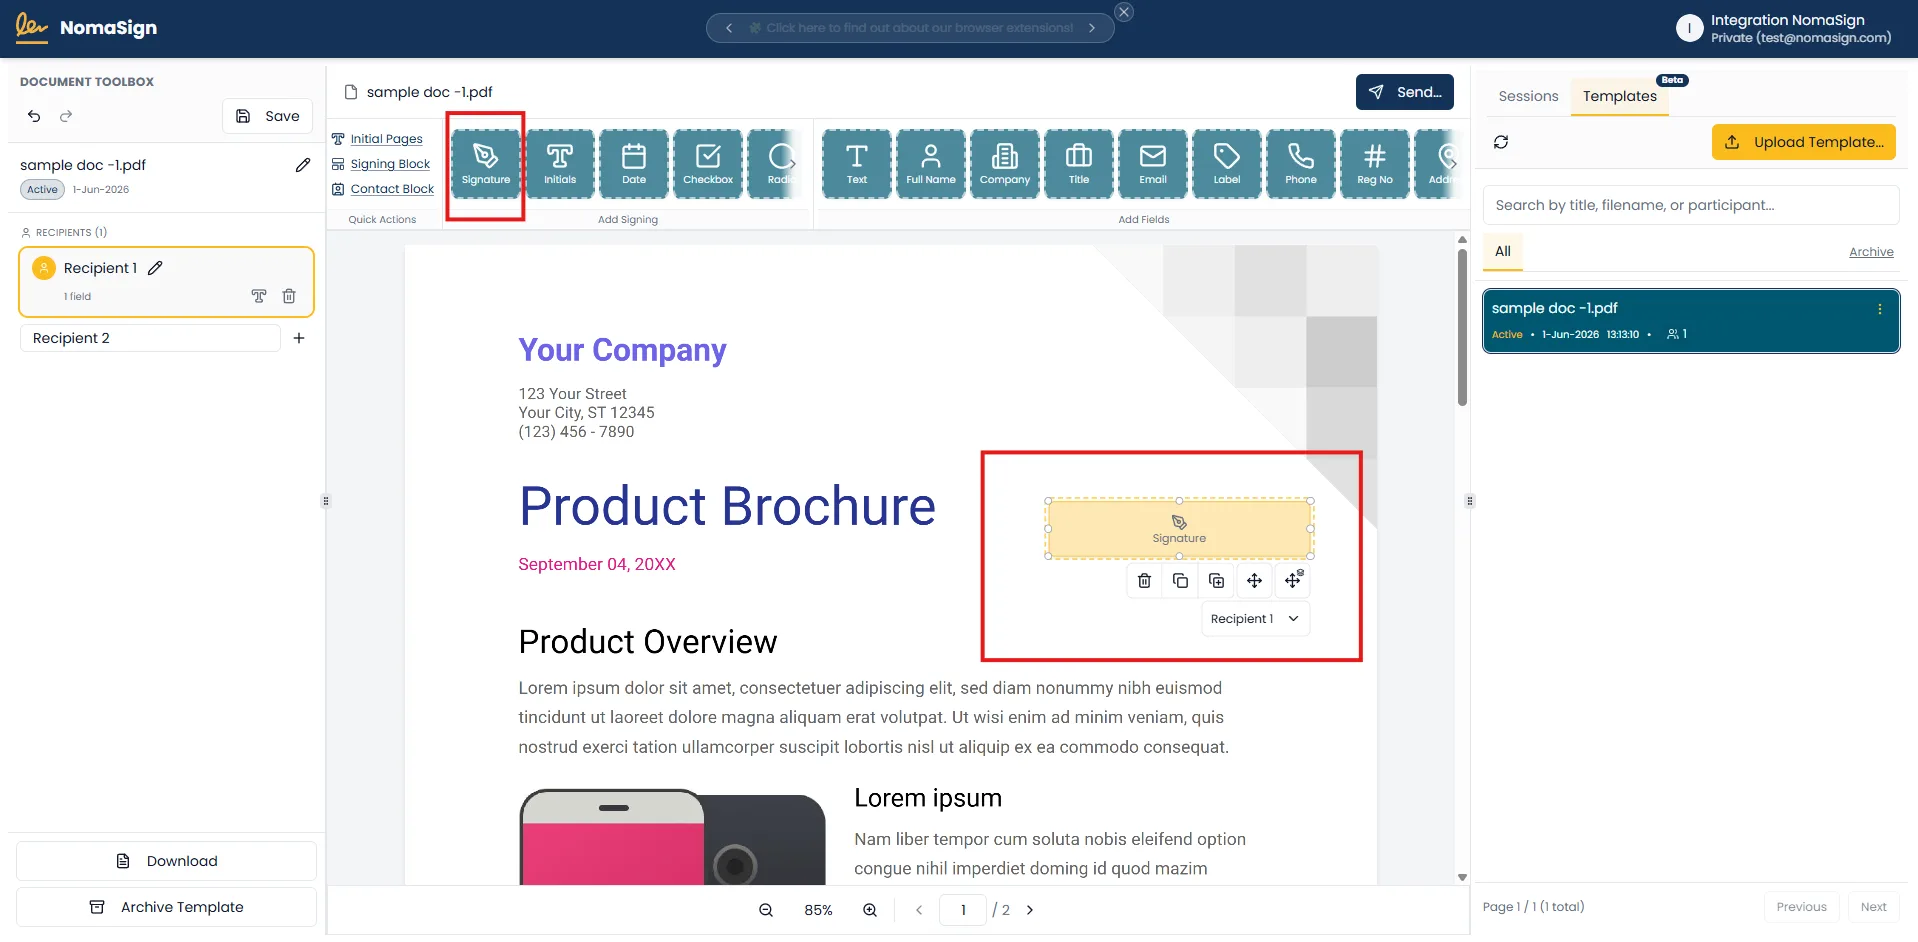
3. Add a Signing Field
Add a signing field to the template.
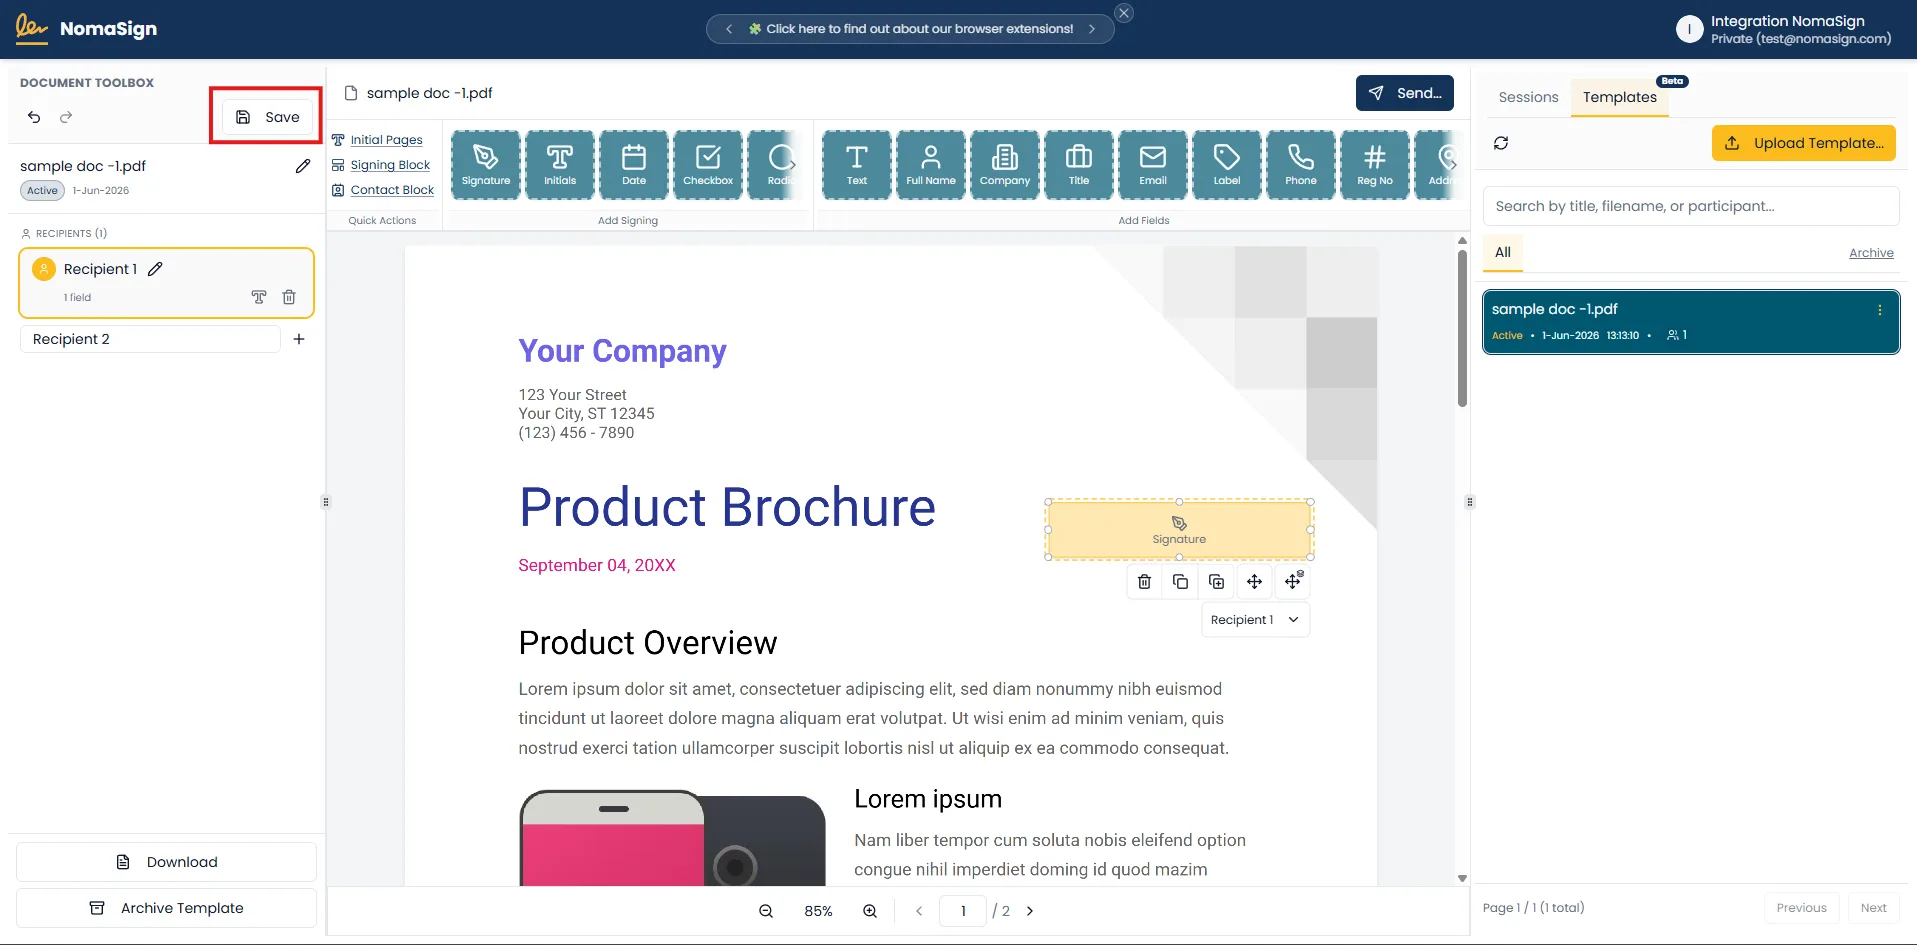
4. Save
Save the template.
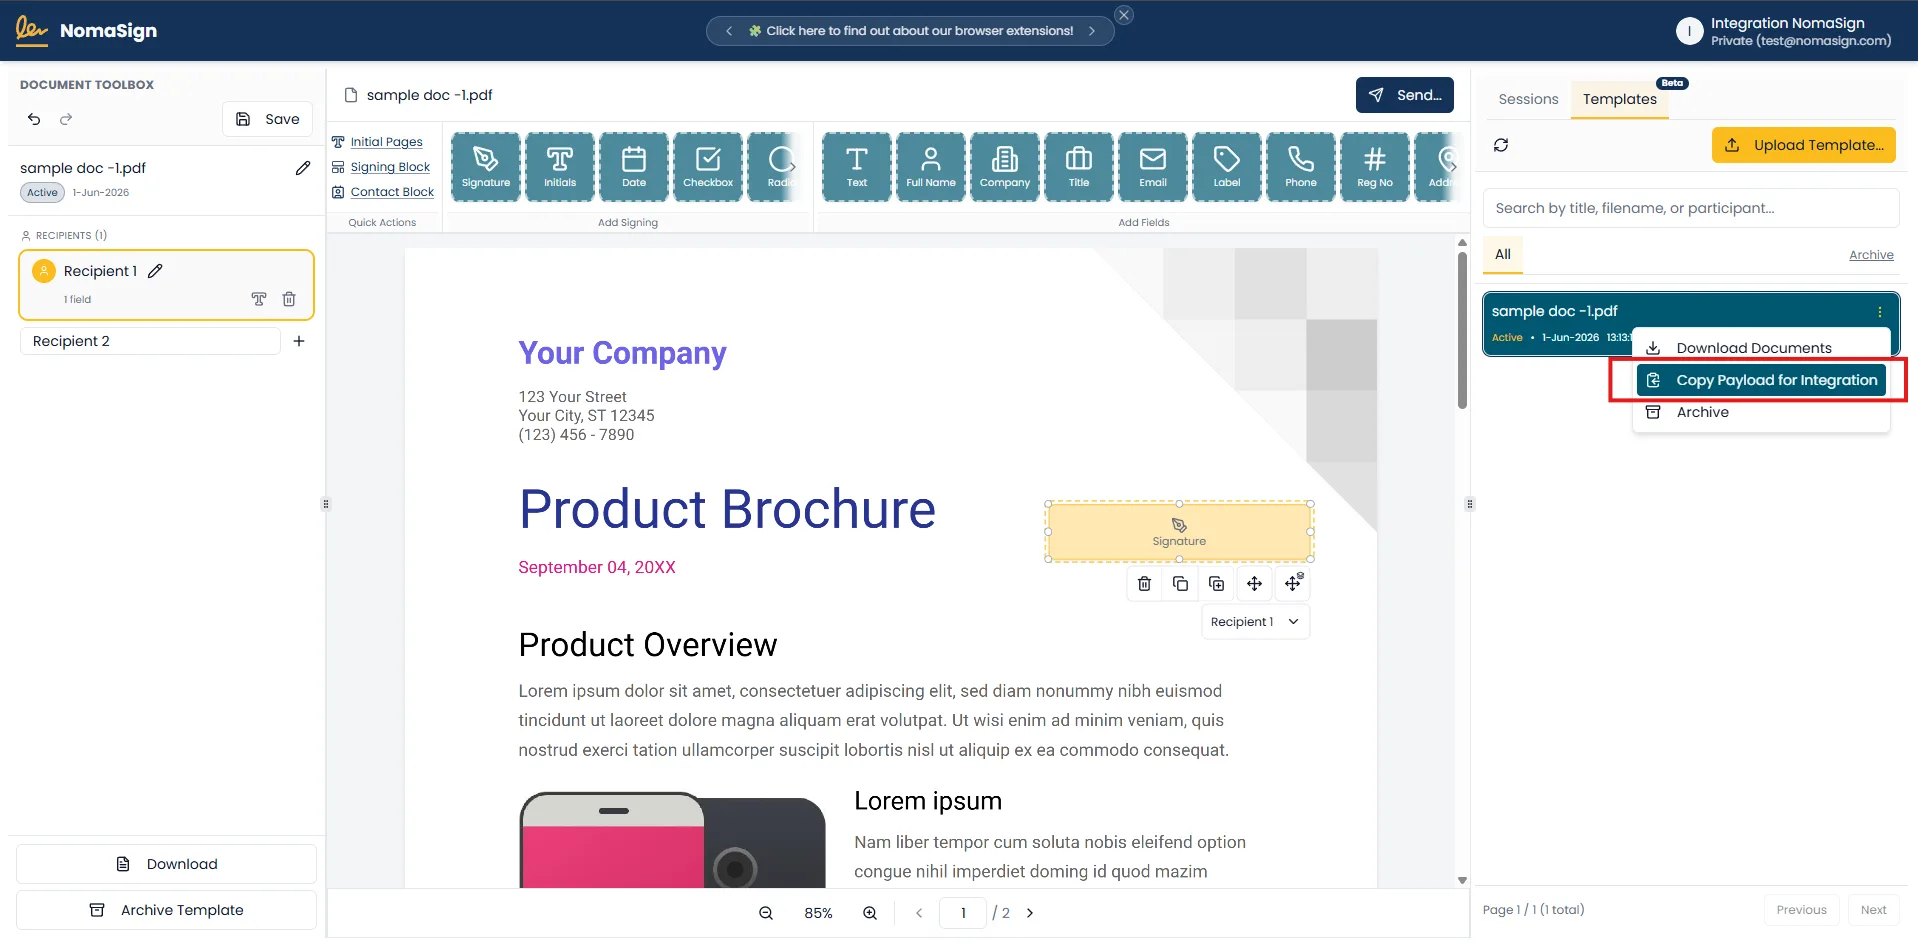
5. Copy Payload for Integration
Click the Copy Payload for Integration button on the template.
Naming Your Fields
Give each field a clear, stable, developer-friendly label:
| Good names | Bad names |
|---|---|
customer_name | Text 1 |
contract_start_date | Field 2 |
salary_amount | Input |
Field labels are matched exactly (case-sensitive) — your API payload must use the same casing. Recipient placeholder labels, by contrast, are matched case-insensitively (e.g. signer 1 matches Signer 1). Either way, don't rename labels after go-live, as that breaks existing integrations.
Finding Your Template ID
After saving, note the template ID — visible in:
- The URL bar when viewing the template
- The API response from
GET /api/templatesin the integration sample app
Before Going Live
- Every signer has at least one required signature field
- All API-filled fields have clear, stable names
- Recipient placeholder labels are final (changing them breaks API calls)
- You've tested the template manually in the UI at least once
- The template was created by the integrator account
⚠️
Renaming placeholders or field labels after going live breaks existing integrations. Clone the template before making changes.